Most homes do not have a gear problem. They have a placement problem. The helmets are in three different rooms, the tennis balls live in the car, and the tent is somewhere behind the paint cans. When sports and outdoor equipment has no assigned home, it drifts to the nearest flat surface and stays there until it is needed, at which point everyone spends twenty minutes searching for one glove.
This site is about fixing that, calmly and practically. We write storage plans for the spaces people actually have, from a double garage to a hallway closet, and care guides that keep gear in good shape between uses. Below is our full approach in one long read. If you only want the build plans, jump straight to Storage Ideas.
Why gear gets lost
Sports gear is unusually hard to store because it comes in awkward shapes and changes with the seasons. A bike is long and catches on everything. Balls roll. Rackets and sticks lean and fall. Tents and sleeping bags need to breathe. Ski boots are heavy and wet. And every few months the whole set swaps out as summer sports give way to winter ones.
On top of that, gear is used by several people, often in a hurry. A storage system that only one person understands will not survive a Tuesday evening practice run. The solution has to be obvious, quick to use and forgiving when someone puts a thing back slightly wrong.
The rule
If putting it away takes longer than dropping it, it will get dropped. Every idea on this site is built around making the right place also the easiest place.
Think in zones, not shelves
The single most useful shift is to organize by activity rather than by object type. Instead of a shelf of "bags" and a bin of "helmets", create a bike zone, a field-and-court zone, a water zone, a winter zone and a camp zone. Each zone holds everything needed for that activity, so packing for a ride or a match is one stop instead of a tour of the house.
Zone A
Wall
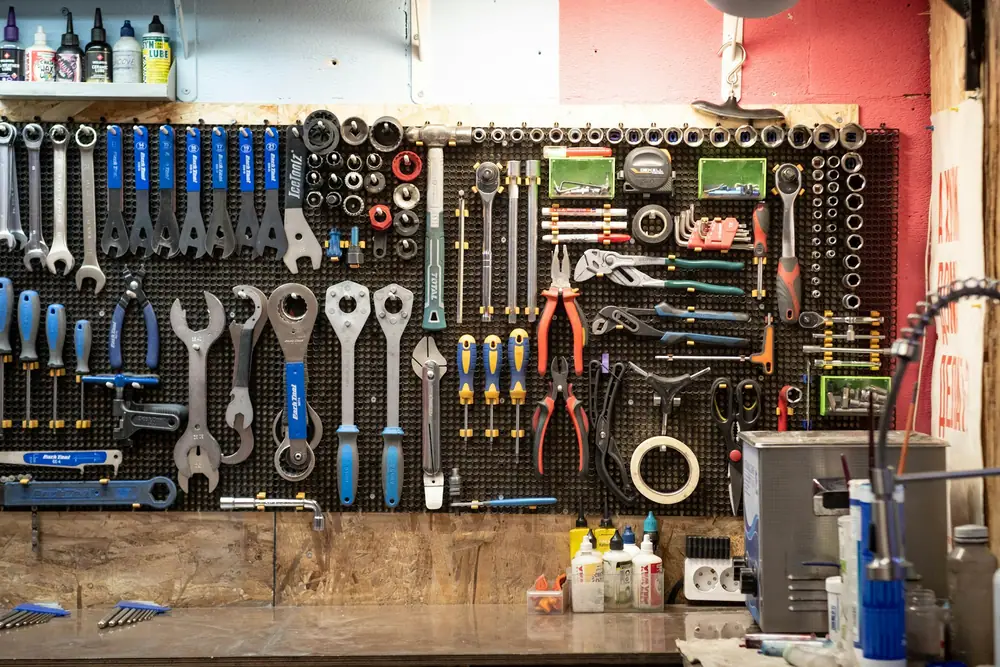
Pegboard or rail for helmets, gloves, pumps and daily small gear.
Zone B
Bikes
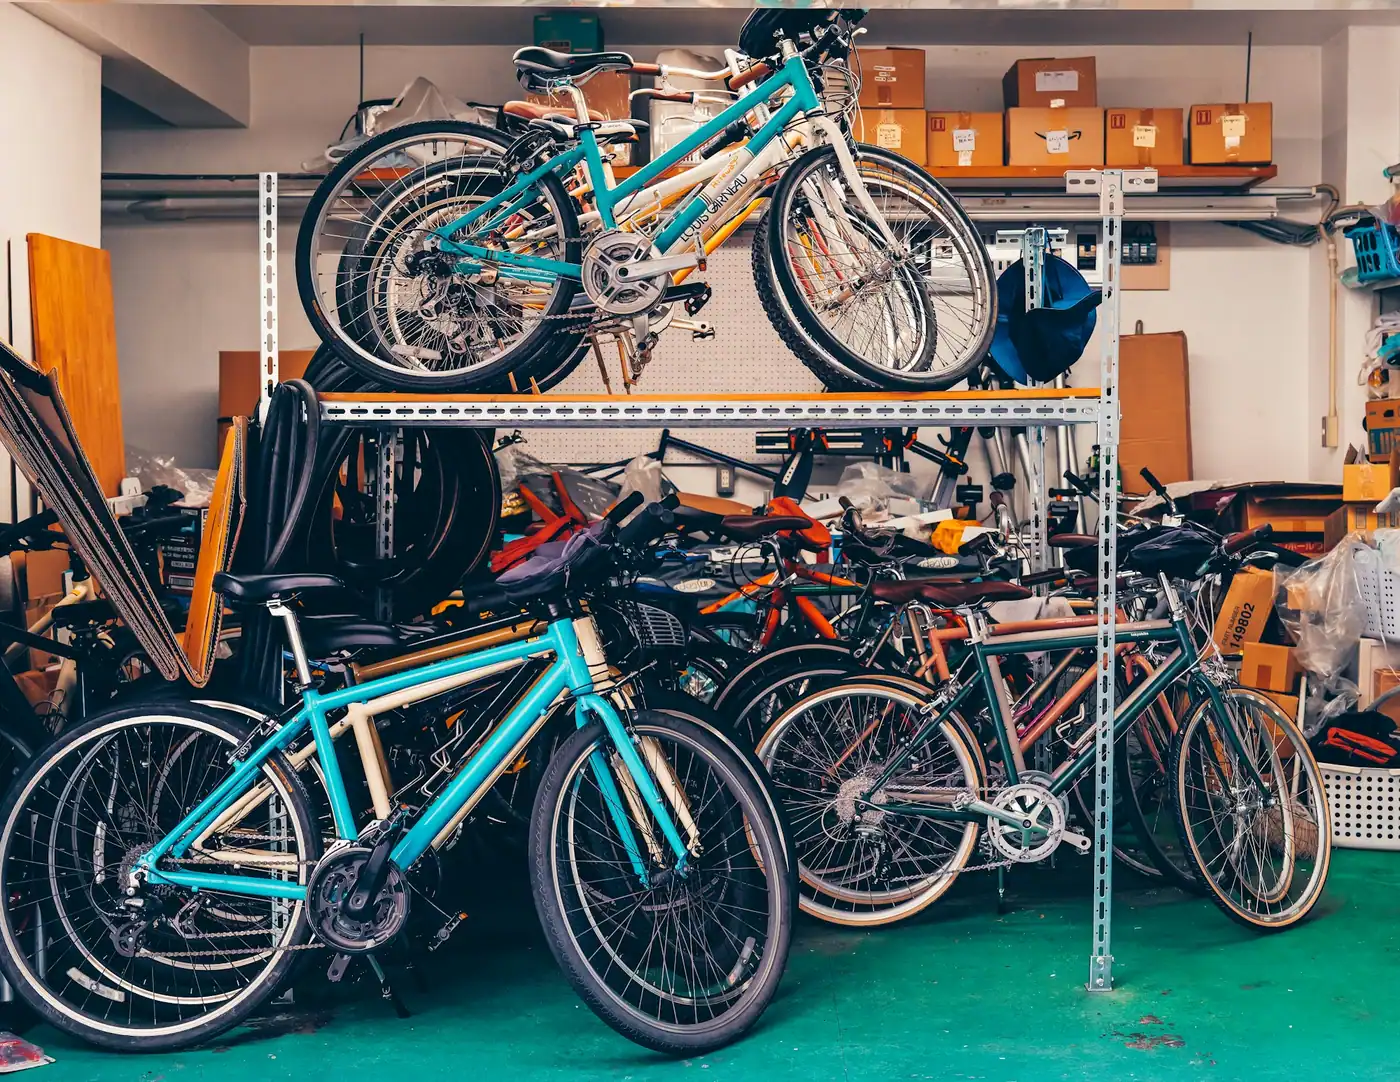
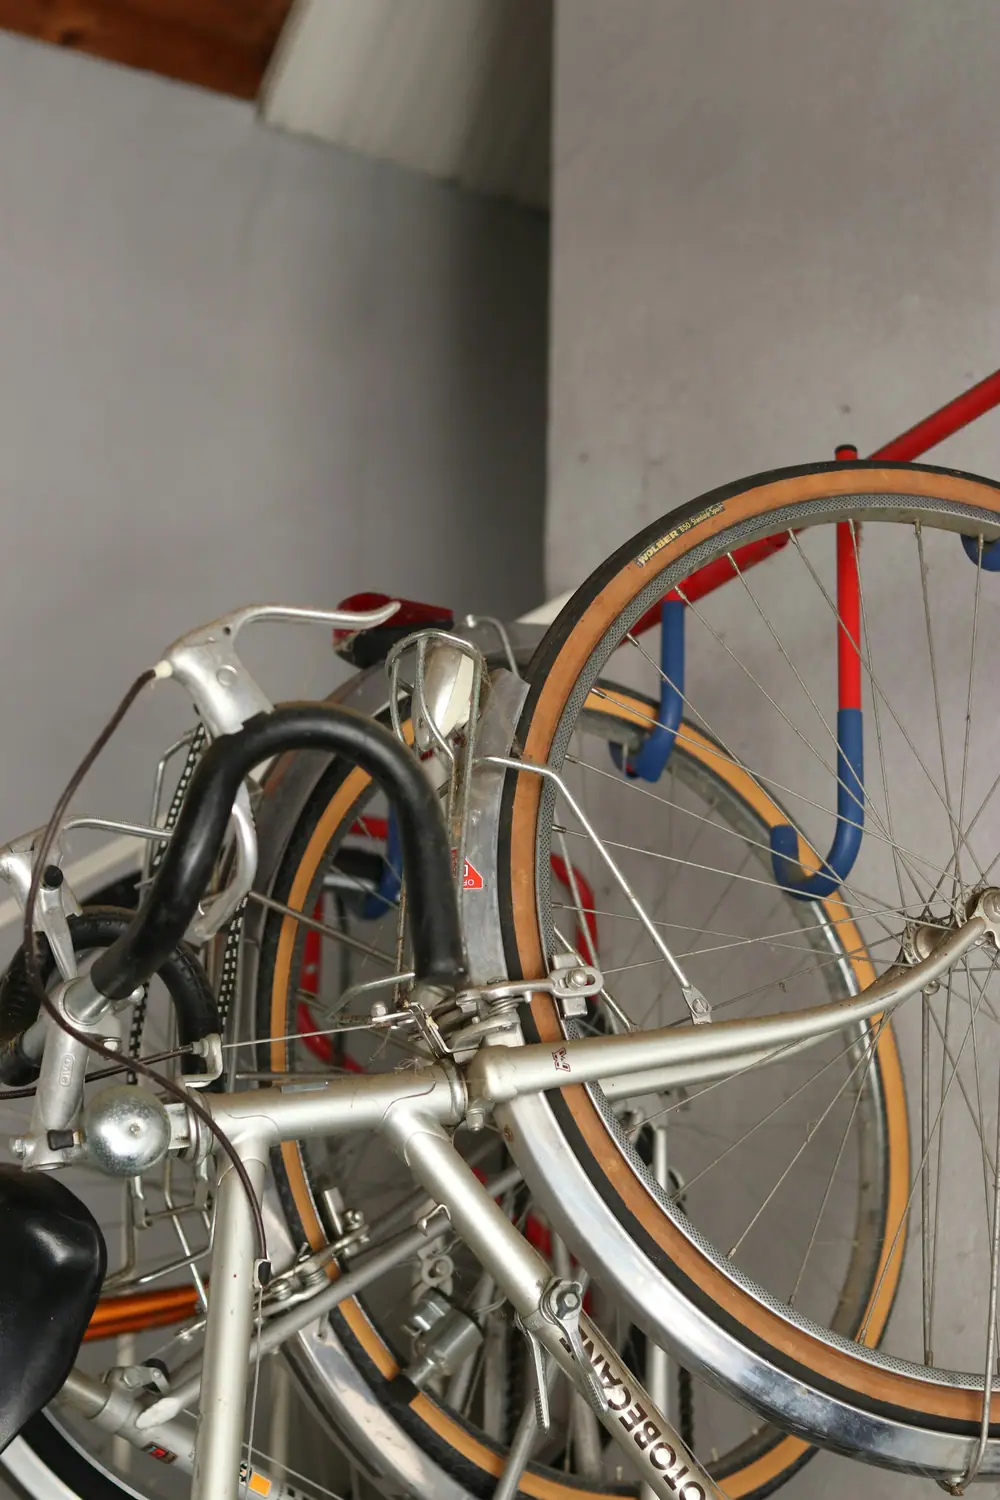
Hooks, stands or hoists with tools and a pump beside them.
Zone C
Field & court
Ball cages, racket rails and a stick rack near the door.
Zone D
Overhead
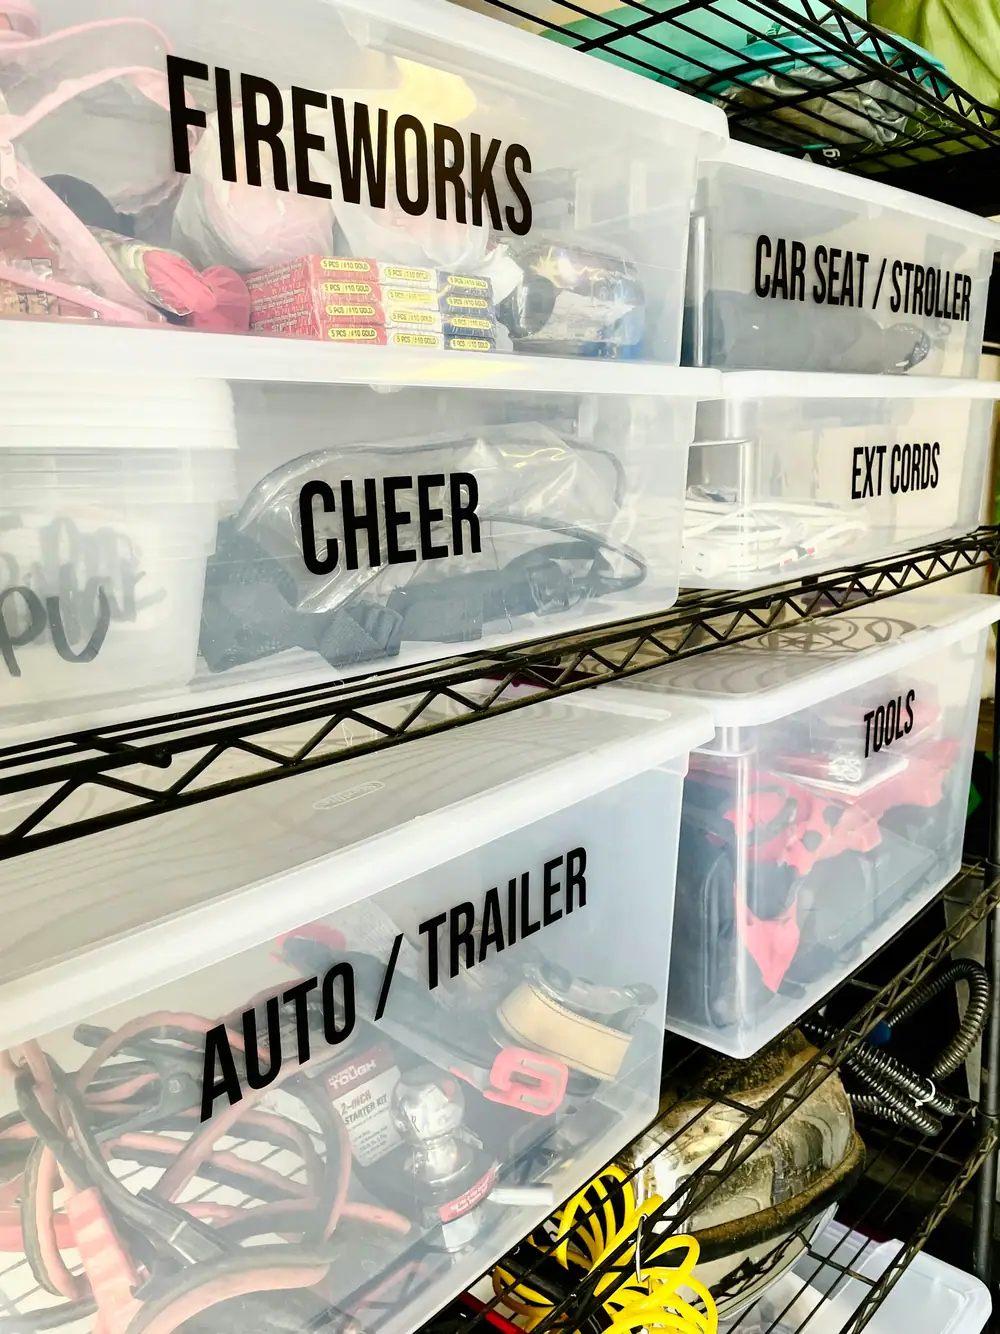
Labeled bins for off-season gear, rotated twice a year.
Zones also make it easy to hand responsibility to the people who use the gear. A teenager can own the field zone. The keen cyclist in the house can own the bike zone. When each area has a clear purpose and a clear owner, it tends to stay in shape.
Label zones with big, simple words, like stencil tags on a workshop wall. You are not labeling every hook, just telling everyone which part of the wall belongs to which activity. That is enough for most people to put things back in roughly the right spot.
Start with one wall
If the garage feels overwhelming, pick one wall and start there. A single well-planned wall, usually pegboard or a rail system screwed into the studs, can hold a remarkable amount of gear and immediately clears the floor. Divide it into three height bands: daily gear between waist and shoulder, occasional gear up high, heavy or dirty gear down low. Our pegboard gear wall plan walks through the whole build with a materials list.
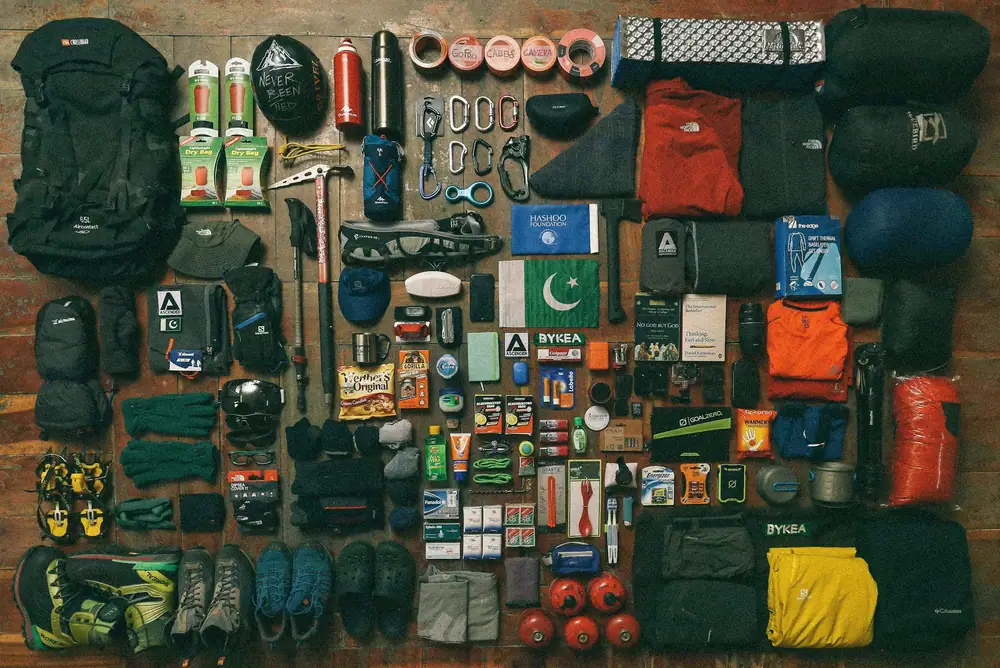
Lay everything out before you build. Seeing all the gear at once shows you what each zone really needs to hold.
Before you buy anything, empty the wall and lay all the gear out on the floor, grouped by activity. It is the fastest way to see what you actually own, spot duplicates, and find the things that are broken or outgrown. You will almost always end up storing less than you expected.
Wall systems / quick compare
System
Holds
Cost
Flexibility
Hardboard pegboard
Light–medium
Low
High
Steel pegboard
Medium
Mid
High
Slatwall
Medium
Mid–high
High
Rail / track
Heavy incl. bikes
Mid
Medium
French cleat
Varies by build
Low
Very high
Care comes before storage
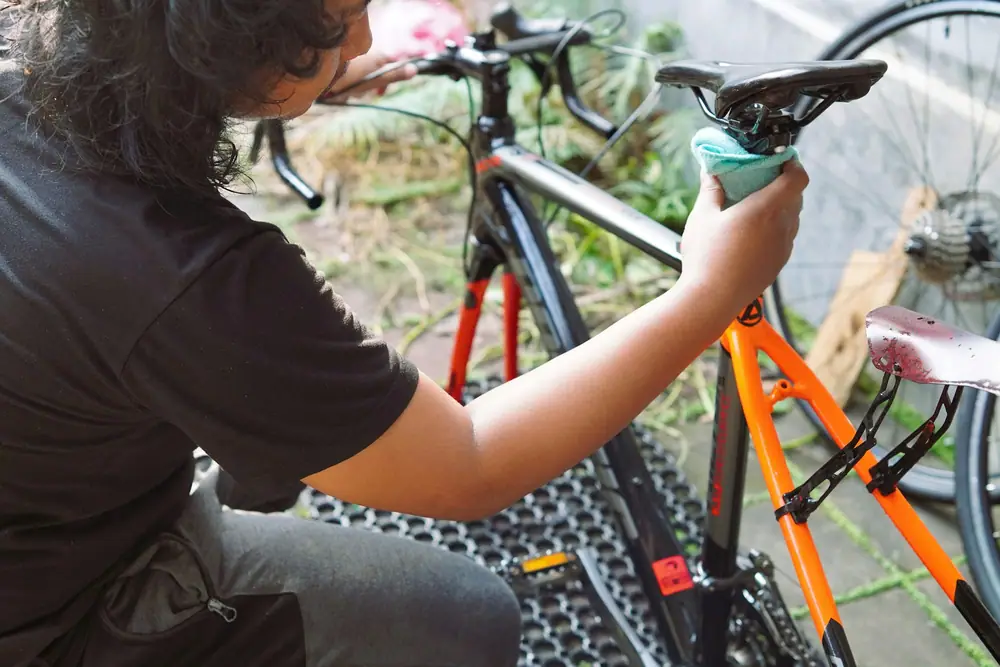
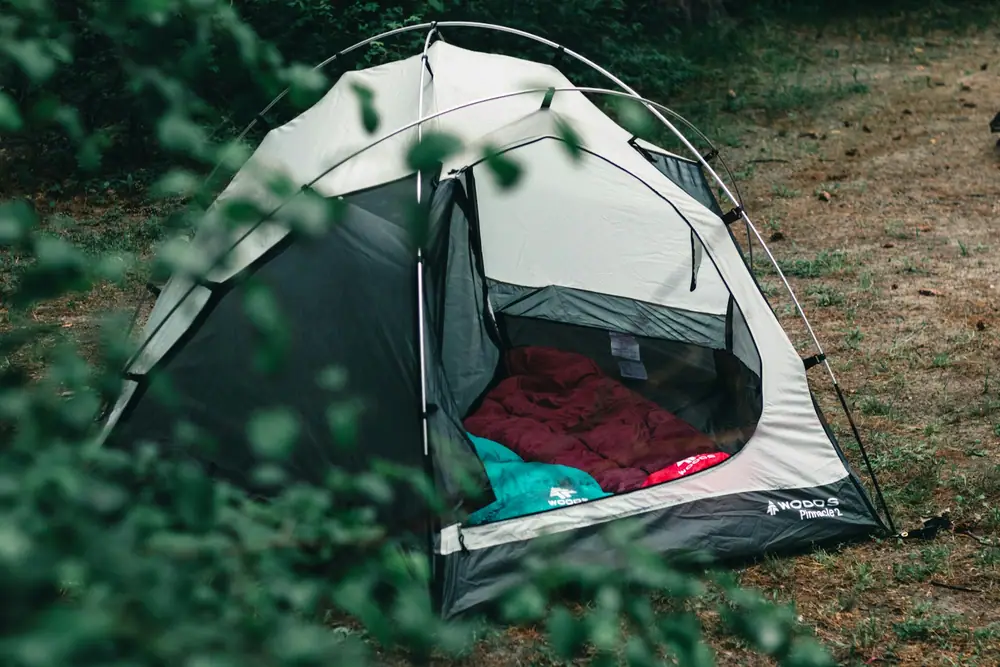
The best storage system in the world will not save gear that goes away wet or dirty. Mildew in tents, rust on bike chains, flattened sleeping bags and smelly pads are almost always storage problems rather than product problems. The habit that prevents most of them is simple: clean it, dry it, then store it.
Clean it, dry it, then put it away. Nearly every gear-care problem starts by skipping step two.
Rackets want a cool, dry spot and a hook that holds them by the throat.Balls go low, in something they can be tossed into with one hand.
Rotate by season
Trying to keep summer and winter gear within reach all year is what fills garages. A seasonal rotation keeps only in-season equipment in the prime spots, and moves everything else into labeled bins up high or at the back. Twice a year, usually around spring and fall, you swap them.
The swap is also the natural time for maintenance. Skis get a storage wax and boots get buckled, bikes get a proper wash and a tire check, tents are aired and inspected, and anything broken goes into a "needs repair" bin rather than back on the shelf. The seasonal bin rotation plan and our end-of-season ski guide go through the details.
Zone D
Bins that work
Clear, latching lids and a bold label on the end that faces out.
Named by activity and person, never "Misc".
Heavy bins low, light bins high.
Down and sleeping bags in breathable sacks, not sealed plastic.
No garage? No problem
Plenty of people with a lot of gear live in apartments. The principles are the same, just more compact. Create a drop zone by the door for daily gear, use one closet or corner for bulky items, and put off-season gear under the bed or on top of wardrobes. Use vertical space before floor space, choose renter-friendly fixings, and keep wet gear in the entry until it is dry.
A freestanding bike rack or a tension-pole system can hold one or two bikes without a single hole in the wall. Over-door organizers are great for gloves, balls and bottles. See the small-apartment gear storage plan for a full setup.
A gear-room checklist
Whether you have a three-car garage or a single closet, this short checklist covers the essentials. Tap items to check them off, or print the page and pin it to the wall.
Gear-room basics
Space
Floor mostly clear, with a walkway to the door
Wall systems screwed into studs
Tall shelving anchored to the wall
Good light where you grab gear
Zones
Gear grouped by activity, not by type
Each zone labeled with a simple stencil-style tag
Daily gear at waist-to-shoulder height
Off-season gear in labeled bins up high
Care
Drying station with hooks and airflow
Pump, basic tools and cleaning kit beside the bikes
"Needs repair" bin in use
Two seasonal swap dates on the calendar
That is the whole philosophy. The rest of the site puts it into practice, one zone at a time.
Storage Ideas
The storage plans
Six build-ready plans, each with a materials list, layout tips, a step timeline and a printable checklist.