Tents and sleeping bags are among the most expensive things in a camping setup, and among the easiest to damage in storage. The good news is that the rules are simple: clean, completely dry, loosely packed, somewhere cool and dark. Here is how to follow them without turning your closet into a camping store.
Clean before you store
Shake the tent out, sweep the floor with a small brush and wipe any mud from the fly and poles with a damp cloth. Most tent makers advise against machine washing; if a tent really needs it, hand wash in a tub with a gentle, non-detergent cleaner and rinse well. Leave zippers open while it dries so the teeth do not trap moisture.
For sleeping bags, spot clean the hood and collar, where skin oils collect. Full washes are occasional events, not after every trip, and should follow the care label. Down bags in particular benefit from a specialist wash and a long, low-heat dry.
Dry means dry
Pitch the tent or hang its parts until seams, corners and the stuff sack are all completely dry. A sleeping bag should be fully lofted, with no cool or clumped spots when you squeeze the baffles. Our drying guide covers the details.
The stuff sack is for the trail. The storage sack is for the closet.
Pack loosely
Compression is the enemy of insulation. A sleeping bag left squashed in its stuff sack for months may not loft fully again. Store it loosely in a large cotton or other breathable storage sack, many of which come with the bag, or lay it flat under a bed or hang it in a closet.
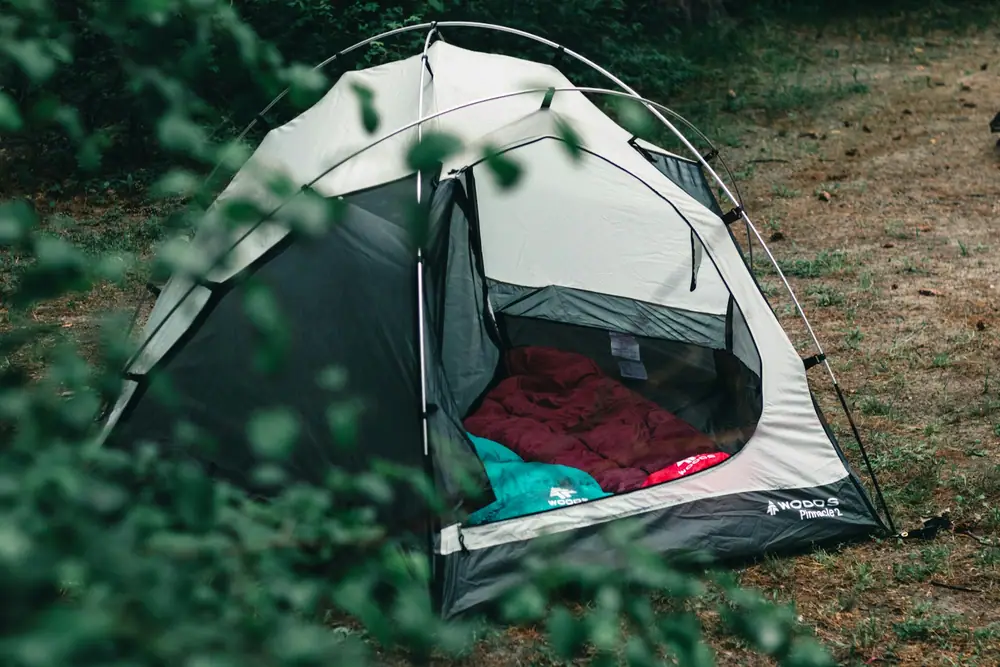
Tents also do better stored loose. Fold the body and fly along different lines each time so the same creases do not wear coatings. Some people store tents in a large bin rather than the original bag for this reason. Keep poles assembled loosely in their sack and pegs in a separate pouch so they cannot puncture fabric.
Label a shelf "Shelter and sleep" and keep tent, footprint, pegs, pad and sleeping bag together. When a trip comes up, one shelf gives you everything.
Where to keep them
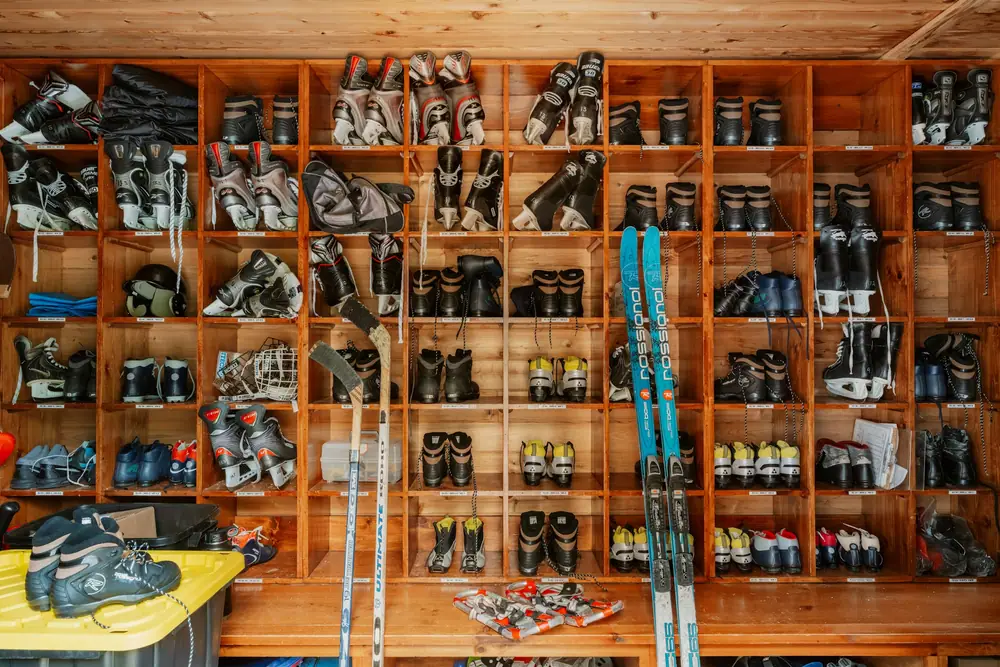
The best spot is cool, dry and dark: a closet, the space under a bed, or a shelf in a climate-stable room. Garages and sheds can work if they stay dry, but watch for temperature extremes and pests, and keep fabric gear in latching bins off the floor. Attics often get very hot in summer, which is hard on coatings and adhesives.
| Spot | Good for | Watch-outs |
|---|---|---|
| Bedroom closet | Sleeping bags, tents | Space; use a tall shelf |
| Under a bed | Sleeping bags laid flat | Dust; use a breathable cover |
| Garage shelf | Tents in latching bins | Humidity, pests, fumes |
| Shed | Hard goods more than fabric | Heat swings and moisture |
| Attic | Rarely a good choice | High summer heat |
Sleeping pads
Self-inflating pads often store best unrolled with the valve open, which helps the foam keep its spring. If space is tight, store them loosely rolled with the valve open. Air pads can be stored rolled, but make sure they are dry inside; blowing into them adds moisture, so use a pump sack where possible.
Mid-season check
If gear stays in storage for many months, take it out once in the middle. Air the bag, open the tent, look for any musty smell and check that zippers run freely. It takes ten minutes and catches problems while they are still easy to fix.
What to avoid
- Storing anything even slightly damp.
- Leaving the sleeping bag in its compression sack.
- Stacking heavy bins on top of tents.
- Keeping gear near fuel, solvents or pest bait.
- Sealing down in a vacuum bag long term.
Repairs before storage
Storage time is repair time. Look over the tent for small tears, a sticky zipper or a pole section that no longer seats properly, and check the sleeping bag for escaping feathers or a split seam. Small holes can often be patched with repair tape made for tent fabric, and zippers usually run more freely after a clean with a soft brush. Anything you cannot fix yourself goes on a list for a repair service, well before the next trip.
Handle these basics and your shelter and sleep system will be ready the moment the next trip is on the calendar.
Give this gear a proper home
Six storage plans with materials lists, step timelines and printable checklists.
See the plans