When the last day of the season ends, it is tempting to lean the skis in a corner and forget them until the first snow. A little care at the end of winter makes the start of next winter much easier, and it protects edges, bases and boots from damage that is avoidable.
Clean and dry everything
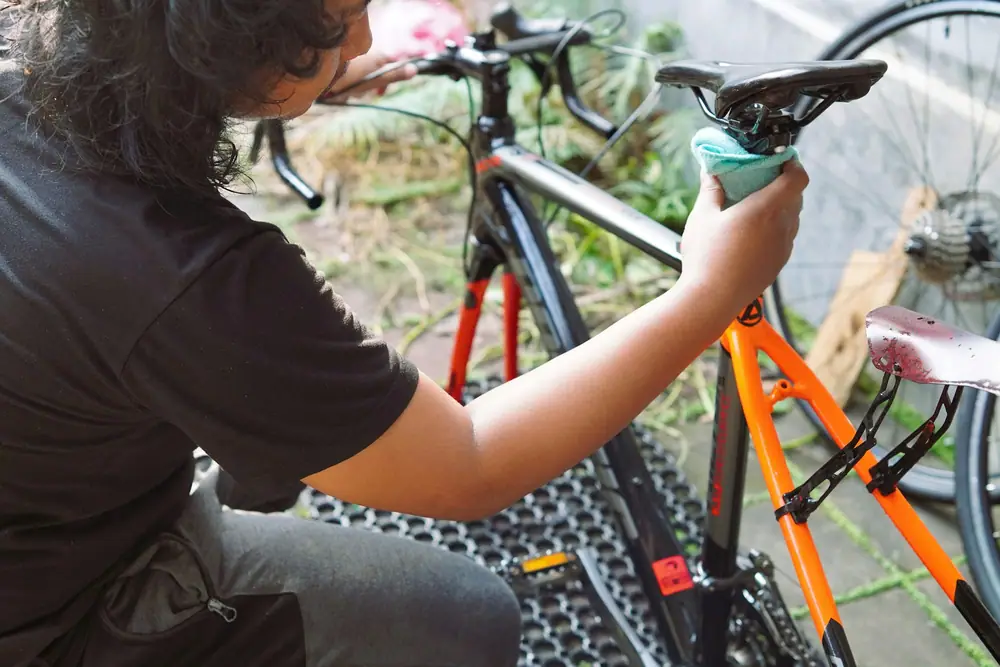
Wipe skis and boards with a damp cloth to remove grime and salt from car racks and parking lots, then dry them completely, paying attention to edges and binding hardware. Let them sit at room temperature for a day before storing so any hidden moisture evaporates.
Pull the liners from ski and snowboard boots and let shells and liners dry separately. Take out footbeds too. Do not use high heat; air at room temperature or a gentle boot dryer is enough.
Edges and bases
Look along the edges for rust spots and burrs. Light surface rust can often be removed with a gummy stone. If the edges or bases need real work, the end of the season is a good time to book a tune so you are not waiting in the fall rush.
Many riders apply a thick coat of wax to the base before storing and leave it unscraped over the summer. The idea is to seal the base against drying out and protect the edges from moisture. Scrape and brush it off before the first day out. If you are unsure, a local shop can do this as part of a storage tune.
Loosen binding springs to a low setting for long storage only if your binding manufacturer recommends it, and make a note of your settings. Have a shop check them before next season.
Boots
Once liners and shells are dry, reassemble them and buckle the boots loosely. Buckling helps the shell hold its shape over the summer. Store boots in a bag or on a shelf out of sunlight and away from heat sources.
Buckled boots keep their shape. Unbuckled ones spend the summer slowly spreading.
Where to store it
Skis and boards like cool, dry, dark places with stable temperatures. A closet, a basement that stays dry, or an insulated garage wall all work. Avoid attics and hot sheds, and keep them out of direct sun.
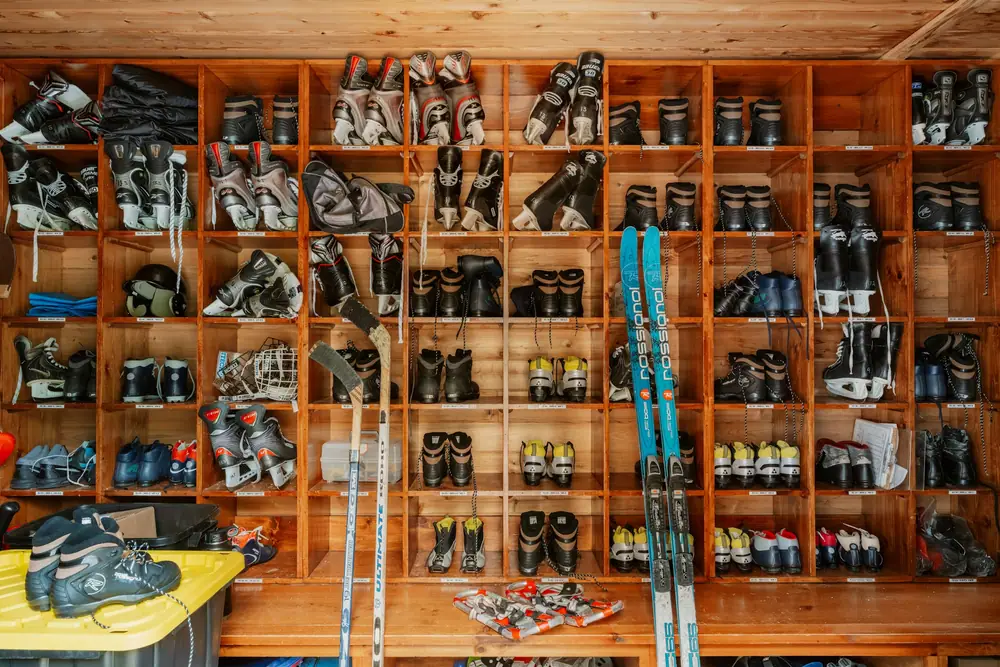
Store skis upright on their tails or horizontally in a wall rack, and boards flat on a rack or upright with the base protected. Strap skis together without clamping tightly on the bases. A dedicated winter-sports wall with ski slots, a board rack and a boot shelf is one of the easiest ways to keep it all together; the shelving in our seasonal rotation guide adapts well.
| Item | Action | Store |
|---|---|---|
| Skis | Clean, dry, check edges, storage wax | Rack, upright or horizontal |
| Snowboard | Clean, dry, check edges, storage wax | Flat or upright on rack |
| Boots | Liners out to dry, reassemble, buckle | Shelf or bag, out of sun |
| Helmet and goggles | Wipe, dry, goggles in soft case | Shelf, away from heat |
| Layers and gloves | Wash per labels, dry fully | Labeled bin |
Layers, helmets and goggles
Wash jackets, pants, base layers and gloves according to their care labels. Technical shells may need a reproofing treatment every so often; spring is a sensible time. Store layers clean and dry in a labeled bin. Wipe helmets inside and out and let them air. Goggles go back in their soft case to protect the lens coating.
Take inventory
Before the bin closes, note what needs replacing or repairing: gloves with holes, a cracked helmet, worn-out socks, a kid who has outgrown boots. Spring is also a common time for secondhand ski swaps, so outgrown gear can go on to another family.
In the fall
When cold weather comes back, scrape and brush the storage wax, have bindings checked, try boots on everyone and replace anything you noted. Because you did the work in spring, getting ready takes an evening rather than a weekend.
Tips for families
With several skiers or riders in the house, label everything. Put a strip of tape with a name on each pair of skis, each board and each boot bag, and store each person's gear together in a column on the wall: skis or board, then a boot shelf, then a bin of helmet, goggles, gloves and layers. When the first snow day arrives, each person can grab their own column without a scramble.
Give this gear a proper home
Six storage plans with materials lists, step timelines and printable checklists.
See the plans