Overview
Bikes are the gear most likely to take over a garage. They are long, they catch on each other, and a row of them leaning against the car door is a scratch waiting to happen. A proper bike zone gets them off the floor or into a tidy rank, keeps the drivetrain away from walls you care about, and puts the pump and helmets within arm's reach.
This guide covers the main storage styles, how to space bikes so handlebars do not interlock, how to mount hooks safely, and the small routines that stop a storage zone from turning into a jumble by spring.
Materials
Quantities below are a starting point for a typical space. Adjust them once you have laid your gear out and measured the wall or room.
| Item | Spec to look for | Qty | Notes |
|---|---|---|---|
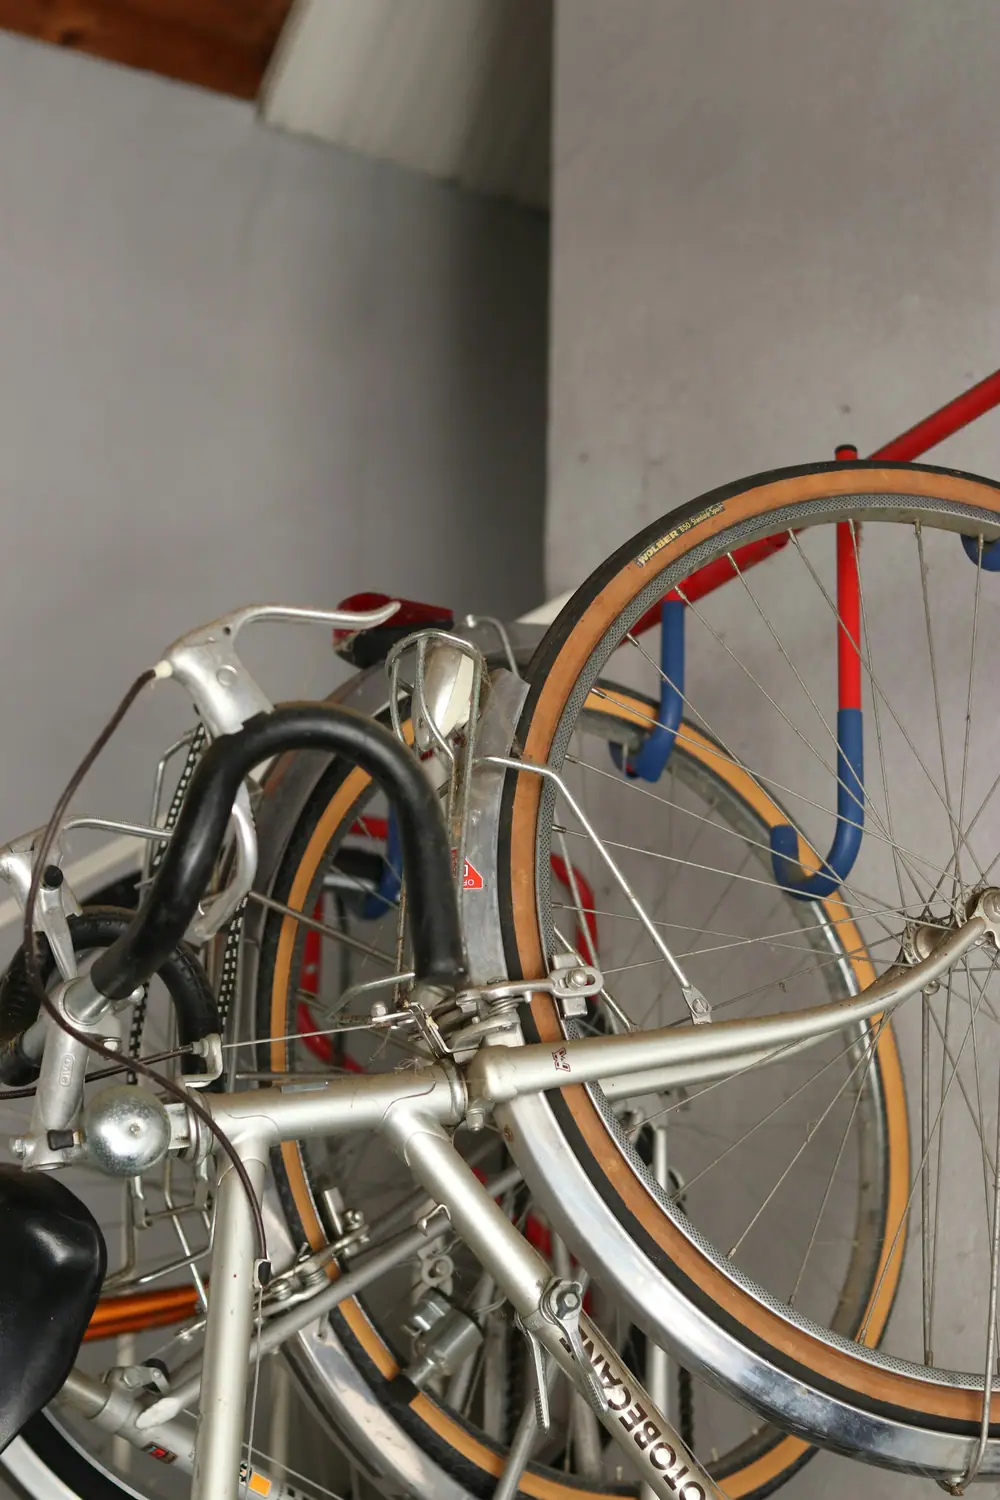
| Vertical wall hooks | Rubber-coated, rated above your heaviest bike | 1 per bike | Hook the front wheel; bike hangs nose-up |
| Wheel trays or tire bumpers | Wall-mounted, below each hook | 1 per bike | Stops the rear tire marking the wall |
| Horizontal wall mount | Two padded arms | Optional | Good for one "display" bike or a frame without a top-tube clash |
| Ceiling hoist | Pulley kit with lock | Optional | Useful where wall space is gone; mind garage door tracks |
| Lag screws | Supplied or 5/16 in, into studs or joists | Per hook spec | Always into structural wood |
| Floor stand | Wheel-slot, freestanding | Optional | Best for kids' bikes they park themselves |
| Helmet hooks and a small shelf | Near the bikes | 1 set | Lights, gloves and pump live here too |
| Drip mat | Rubber or absorbent | 1 | Catches chain lube and road grime |
Layout tips
Start by measuring the handlebar width of your widest bike and the length of your longest. For vertical hanging, alternate the height of each hook by about 8 to 12 inches so neighboring handlebars sit above and below each other. That simple stagger usually lets you space bikes 12 to 16 inches apart instead of the full handlebar width.
Put the bikes that get ridden most often at the end nearest the door, and hang the lightest bikes highest. Kids' bikes belong on the floor in a wheel-slot stand or on low hooks so riders can put them away without help; if they cannot manage it alone, they will leave the bike on the driveway.
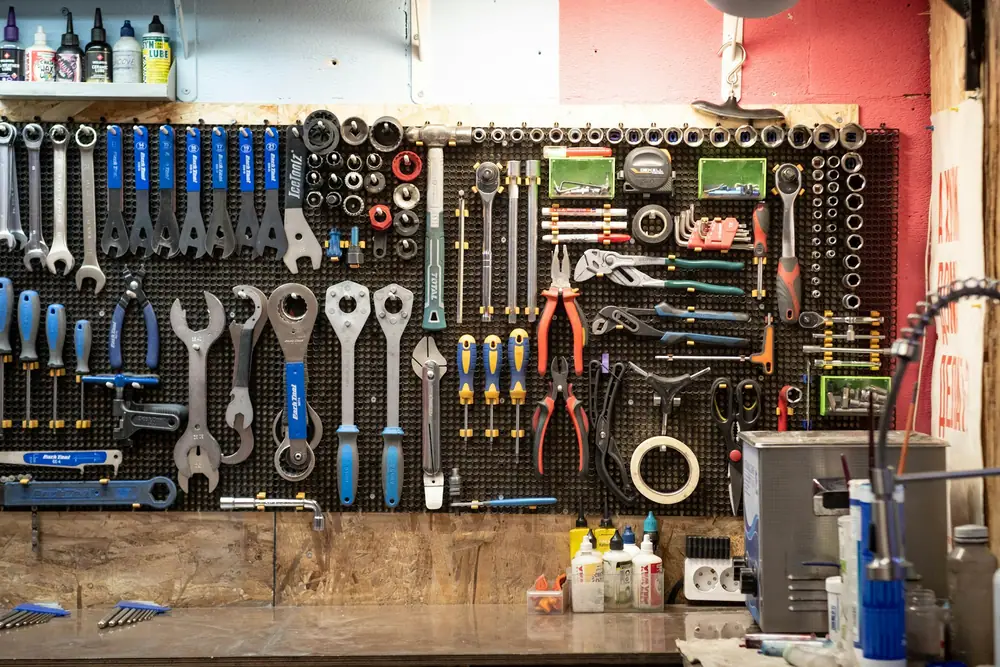
Ceiling storage is tempting but check clearances first. Walk the arc of the garage door and its tracks, note where the car roof and hatch open, and only hoist bikes in bays where nothing swings through. Keep the pump, helmets and a small tool kit on the wall right next to the zone so a pre-ride check takes a minute, not a search.
Step timeline
Measure and sketch
Record bar width and wheelbase for each bike. Sketch the wall at scale, staggering hook heights so bars clear each other.
Locate structure
Find studs for wall hooks, or ceiling joists for hoists. Mark centers clearly; never rely on drywall alone.
Drill pilot holes
Drill pilot holes slightly smaller than the lag screw, square to the wall.
Mount hooks and bumpers
Drive the hooks until the base sits flush. Fit a wheel bumper or tray where each rear tire will rest.
Hang and check clearances
Hang each bike, then check that pedals, bars and derailleurs are not touching anything. Adjust stagger if needed.
Set up the service shelf
Add helmet hooks, a light-charging spot and a small bin with a mini pump, tire levers and a spare tube.
Put down a drip mat
Protect the floor from lube and meltwater, especially under e-bikes and winter commuters.
Options compared
| Style | Best for | Strengths | Watch-outs |
|---|---|---|---|
| Vertical wall hook | Most adult bikes | Very space efficient, low cost | Needs lifting; heavy e-bikes may be too much |
| Horizontal wall mount | One or two bikes, finished rooms | Looks neat, easy access | Uses a lot of wall length |
| Ceiling hoist | Garages out of wall space | Uses dead space overhead | Clearances with doors and vehicles; slower access |
| Floor wheel stand | Kids, heavy e-bikes | No lifting, quick to use | Occupies floor space |
| Freestanding gravity rack | Renters, 2 bikes | No drilling, moves with you | Check stability; keep away from walkways |
Do and don't
Do
- Stagger hook heights to save width
- Screw into studs or joists every time
- Keep tools and pump beside the zone
- Wipe down wet bikes before hanging
Don't
- Hang a heavy e-bike on a light-duty hook
- Block the garage door arc with a hoisted bike
- Let bars rest against the car
- Store bikes wet in a closed corner
Checklist
Bike Storage Zone checklist
Plan
- Bar widths and lengths measured
- Hook heights staggered on the sketch
- Studs or joists located and marked
- Door and vehicle clearances checked
Install
- Pilot holes drilled square
- Hooks flush and tight
- Wheel bumpers fitted
- Each bike hung and clearance-checked
Maintain
- Pump and helmets on adjacent hooks
- Spare tube and levers in the bin
- Drip mat under the zone
- Tire pressure check before each season