Mud is fun on the trail and hard on a bike once it dries. Grit gets into the chain and wears it quickly, dried dirt hides cracks and loose bolts, and a bike hung up filthy will drip on everything below it. A good wash takes around twenty minutes once you have a routine, and it is also the best inspection you will give your bike all week.
What you need
- A bucket of warm water and a bike-specific or mild cleaner.
- A soft brush, a stiff brush for tires and a narrow brush for the cassette.
- A garden hose with a gentle spray setting.
- A degreaser for the drivetrain and an old rag or two.
- Clean microfiber cloths for drying.
- Chain lube suited to your riding conditions.
Keep all of this in one tote near your bike storage zone so washing is a grab-and-go job.
Rinse gently first
Stand the bike up in a work stand or lean it securely. Use a gentle hose spray to soften and lift the worst of the mud, working top to bottom. The goal here is to loosen, not blast.
High-pressure washers can drive water and grit past seals into headsets, hubs and bottom brackets. If you use one, keep it on a low setting, stand well back and never aim directly at bearings.
Degrease the drivetrain
Apply degreaser to the chain, cassette, chainrings and derailleur pulleys. Let it work for a minute, then scrub with a narrow brush. Backpedal while holding a rag around the chain to pull off loosened grime. Rinse the drivetrain with a gentle spray and keep degreaser off brake rotors and pads.
Wash frame and wheels
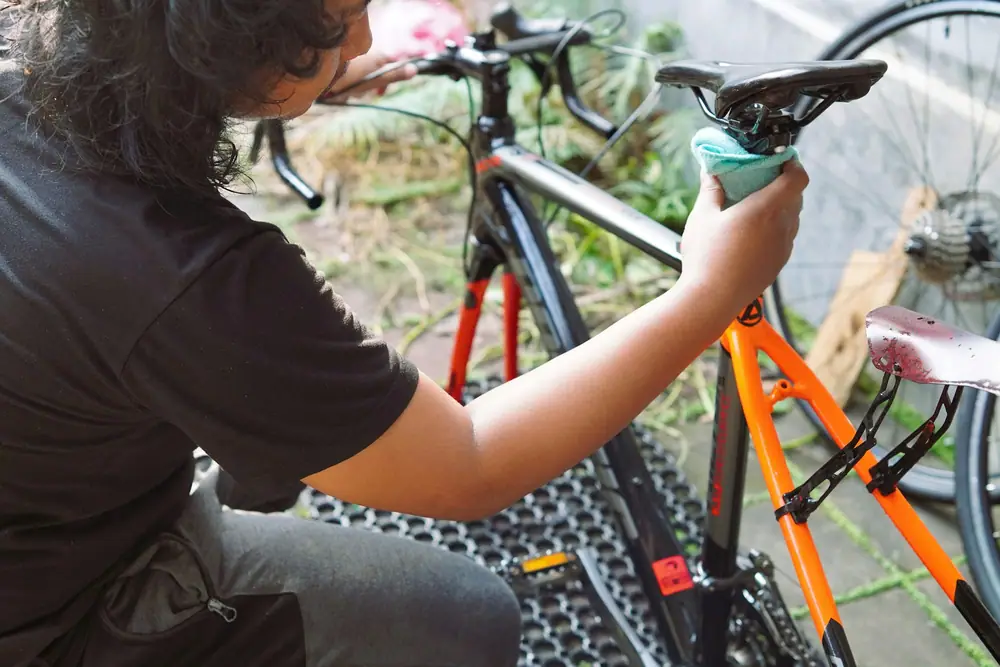
Dip a soft brush in soapy water and wash from the top of the bike down: bars, top tube, seat, then the rest of the frame, fork and stays. Use the stiffer brush on tires and a softer one on rims. Work the brush around the brake calipers carefully, and avoid getting chain lube or greasy cloths anywhere near disc rotors, because contaminated pads lose stopping power.
A wash is the best inspection your bike gets all week.
Inspect while it is clean
With the dirt gone, look closely. Check the frame around welds and joints for cracks or chips, tires for cuts and embedded thorns, and brake pads for wear. Spin each wheel to see if it runs true. Squeeze the brakes and check the levers feel firm. If anything looks wrong, note it or visit a bike shop before your next ride.
Dry and lube
Bounce the bike gently a couple of times to shake water out of the frame, then dry it with clean microfiber cloths. Give the chain particular attention: wipe it thoroughly, then let it air-dry fully before lubing.
Apply lube to the inside of the chain, one drop per roller, while backpedaling. Let it sit a few minutes, then wipe off the excess with a clean rag. Too much lube attracts dirt, which is exactly what you just removed.
| Step | Tool | Time |
|---|---|---|
| Gentle rinse | Hose on soft spray | 2 min |
| Degrease drivetrain | Degreaser, narrow brush, rag | 5 min |
| Wash frame and wheels | Bucket, soft and stiff brushes | 6 min |
| Inspect | Eyes, hands, spin wheels | 3 min |
| Dry and lube | Microfiber cloths, chain lube | 5 min |
Hang it up right
Only hang the bike once it is dry. Wet bikes on vertical hooks drip down the wall and into the rear hub. Wipe the tires one last time so they do not mark the wall bumper, and put the cleaning tote back beside the rack. If you ride through winter on salted roads, rinse more often, because salt accelerates corrosion on chains and bolts.
How often to wash
There is no single rule. Many riders do a quick rinse and chain wipe after any wet or muddy ride and a full wash when the bike looks dirty or the drivetrain starts to sound gritty. A clean chain shifts more smoothly and tends to last longer, which makes the habit worth it.
Where to wash at home
A driveway or a patch of lawn works well, since mud and gritty water can drain away. Avoid washing directly next to the garage wall where your bikes hang, and keep degreaser runoff out of storm drains where possible; a bucket and rags keep most of it contained. In an apartment, a shower tray with an old towel underneath can handle a light clean, though a full muddy wash is easier outdoors or at a public bike wash station if your area has one.
Give this gear a proper home
Six storage plans with materials lists, step timelines and printable checklists.
See the plans